Device connection, types, groups and auto-provision flow
Connect your Mikrotik device
We will use a Mikrotik device with TR-069 client as an example.
First of all, TR-069 package should be installed on Mikrotik. If this package is not installed, use the next steps to install it:
-
Open Winbox and connect to the router (use Wine to run Winbox on Ubuntu);
-
Update router to latest stable version
System → Packages → Check for updatesand update if required; -
Navigate to Mikrotik download page and download the package for your device;
-
Extract the downloaded archive and find
tr069-client-X.XX.npk; -
Upload
tr069-client-X.XX.npkfile into your device and reboot Mikrotik (System → Reboot); -
After reboot you should see a TR-069 option in menu:

Click on TR069 item and configure connection to the ACS server:
-
Put the check-mark to Enable client;
-
Put your ACS URL - it's a URL from menu on step 3 for a CWMP;
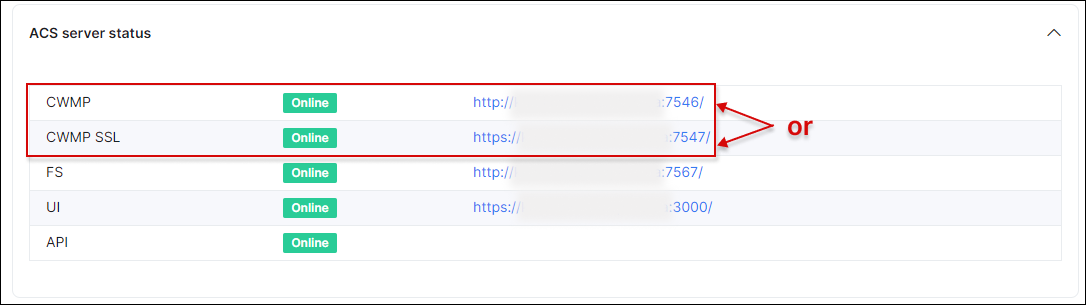
In our example, we are using the domain name instead of IP address.
-
Specify username and password with values from global parameters (step 1);
-
Enable Periodic inform interval (seconds) option.
After these steps you should have the next result:
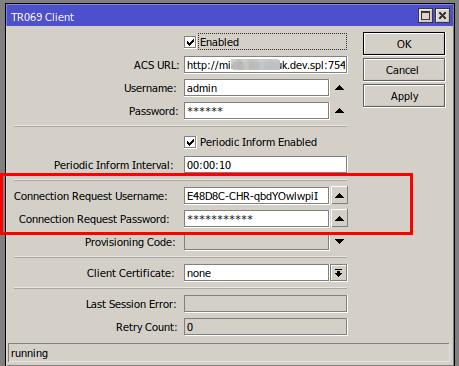
The credentials in Connection Request Username and Connection Request Password fields should appear automatically. Do not change these credentials unless absolutely necessary (e.g. when you need to reconnect your device with an ACS server, these values can be removed and re-enable client - with new connection you will see a new credentials).

/tool fetch https://letsencrypt.org/certs/isrgrootx1.pem/certificate import file-name=isrgrootx1.pem passphrase="To remove the expired certificate use the next command
Example:
/certificate remove trustid-x3-root.pem.txt_0
and do not change any other config in TR-069 client (Client certificate option must be none), just re-enable TR-069 client.
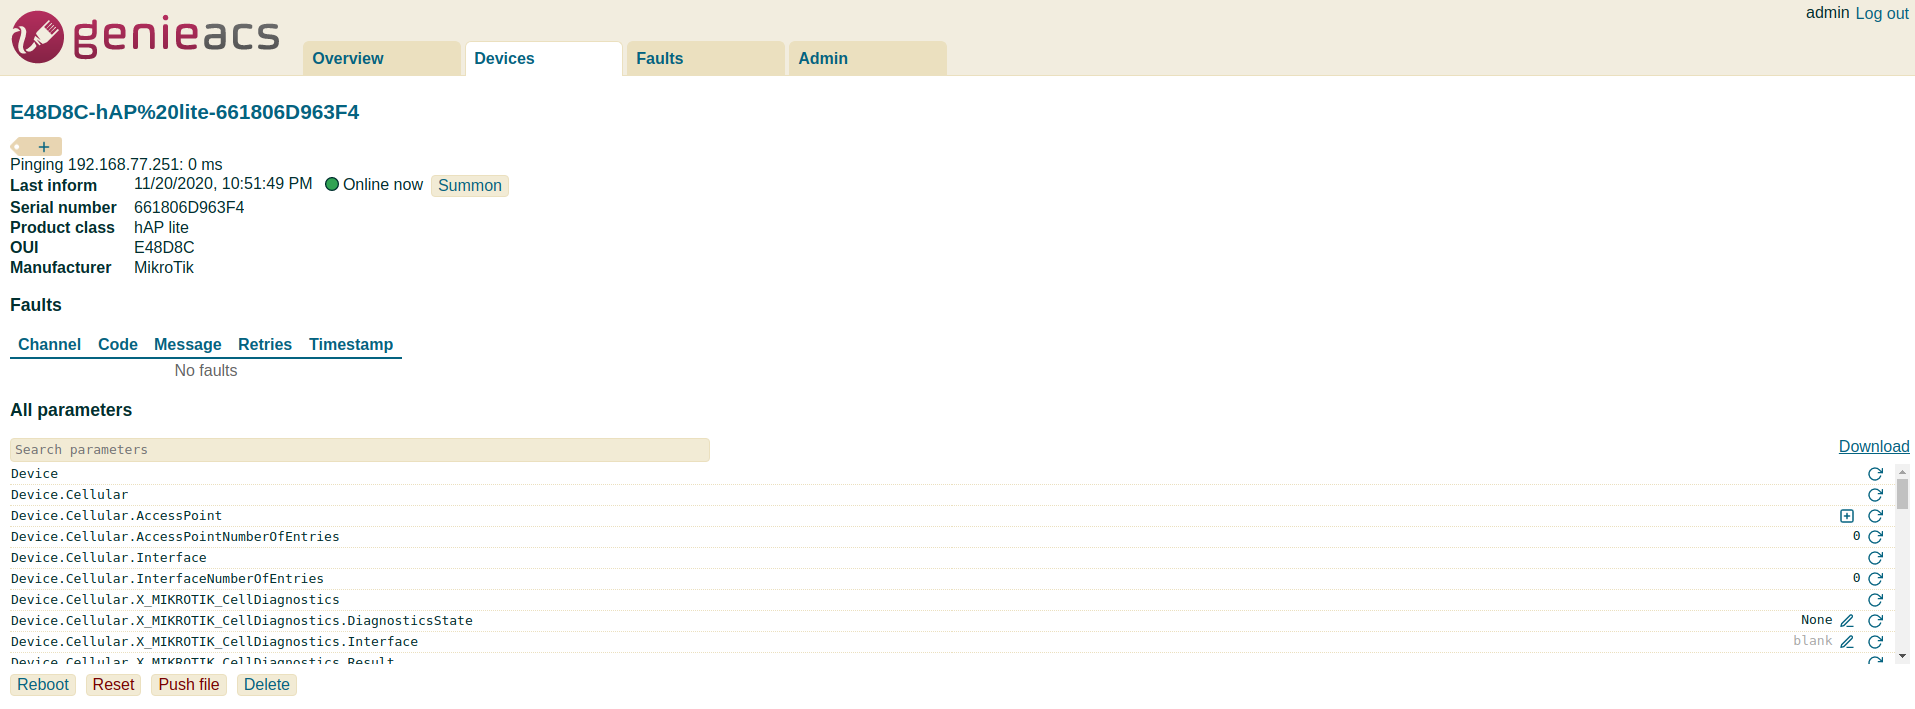
After that, the device will be registered under GenieACS:
as well as under Splynx:
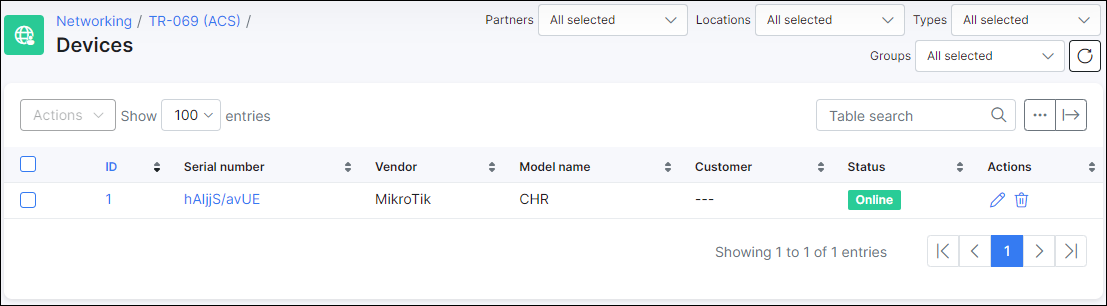
Devices can be in the following statuses: Online, Online today, Offline.
Main parameters for ACS are configured and device is connected so you can manage the device remotely now. Also we have a few more options to configure: Attributes, Types and Groups in Config → Networking → TR-069 (ACS).


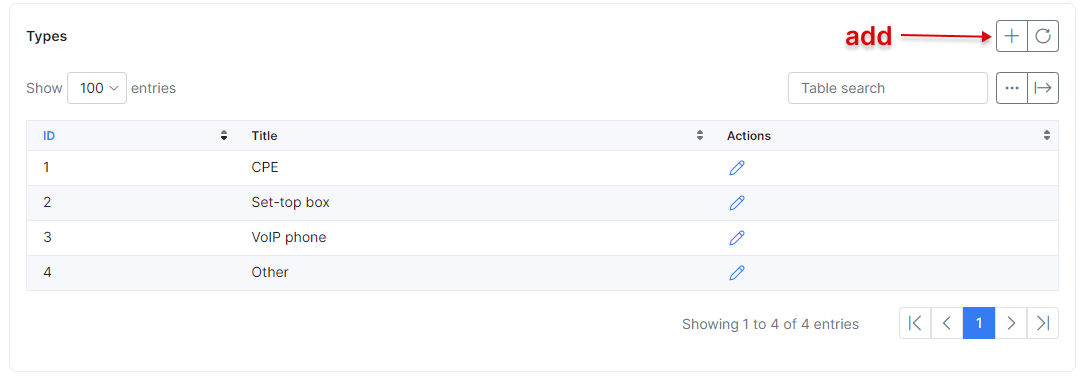
Types:
Simply add different types of devices:
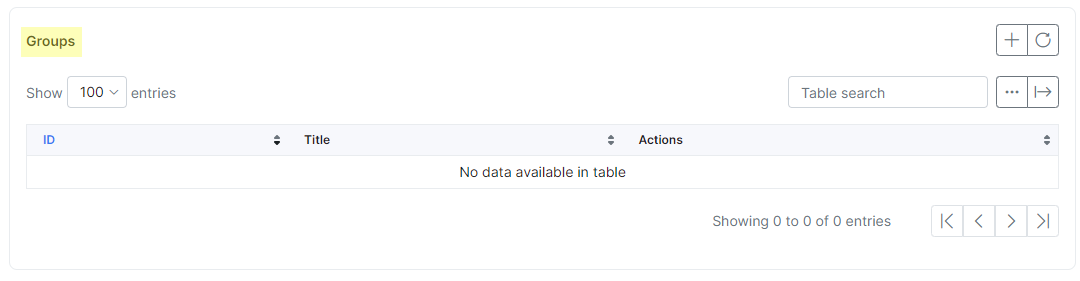
Groups:

Networking → Routers → Add and follow the steps of wizard, TR-069 should be configured on the router).
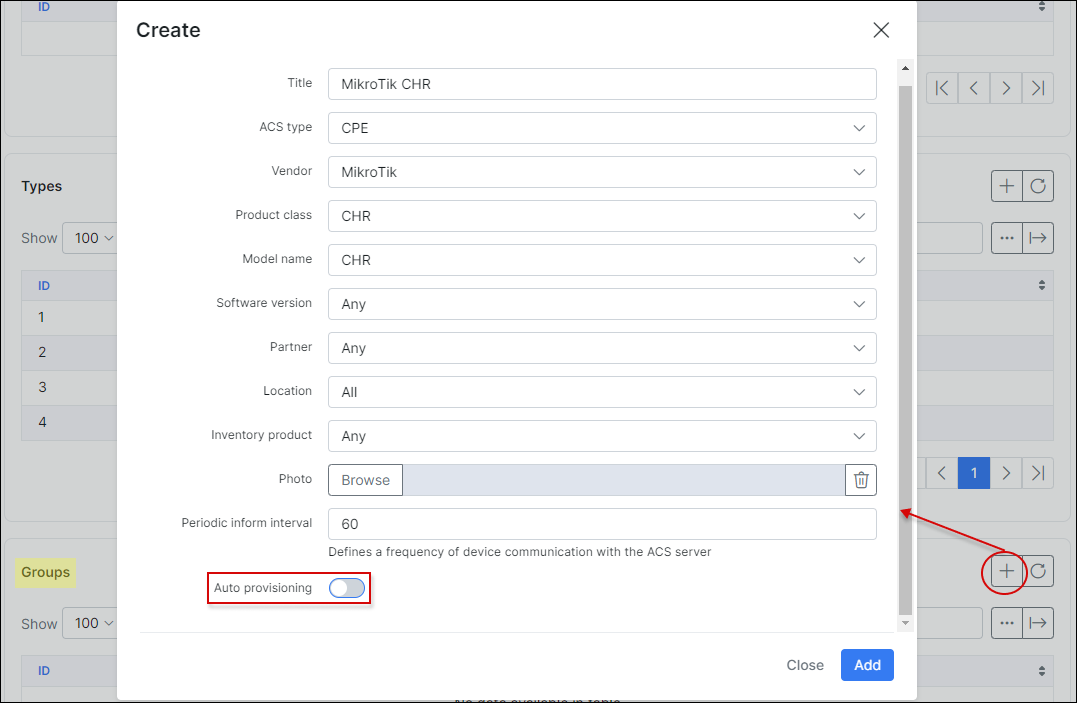
Under Groups you can create new entries to group devices. Press Add button and in a new window select the required parameters, the inventory product name (if existed), selected photo of the device etc.
disabled to prevent an automatic upload of an incomplete configuration to your device.
Otherwise, the current device configuration can be erased and it can be unavailable remotely.
Provisioning flow
Groups are used for auto-provision devices and load device's parameters and properties with the correct TR069 attributes.
Once some device is added, you can create a group base on that device, grab the configuration parameters from that device, edit such parameters and save (in this case, use I have one device and ready to play with manual insert of parameters provision configuration flow).
After that, these attributes can be used for configuration of other devices based on this group, using previously exported parameters.
Click on ![]()

We have a few options here:
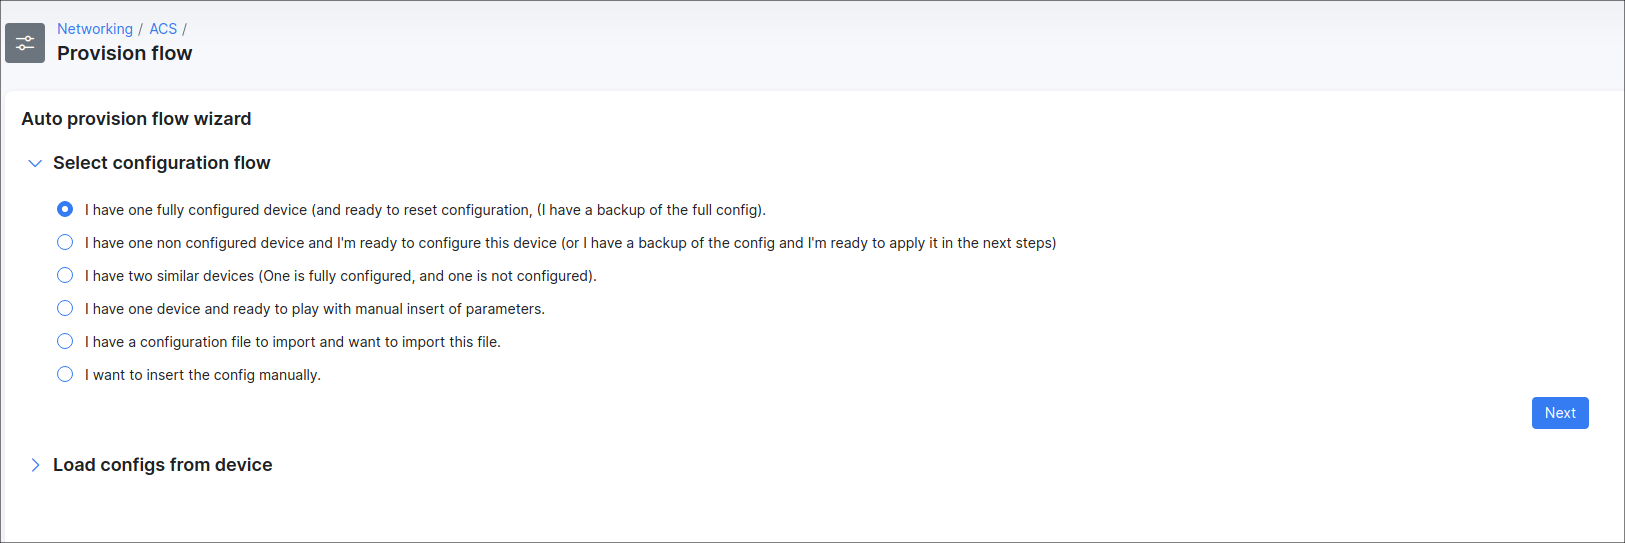
| I have one fully configured device (and ready to reset configuration, (I have backup of full config) | this option can be used when you have configured one device (Device 1) of this type and you need to configure another clear device (Device 2) with the existed parameters. Splynx will grab parameters from Device 1, check what parameters can be used for Device 2 configuration and pull these changes. Or you have a backup what can be used for configuration |
| I have one non configured device and ready to configure this device (or I have backup of config and ready to apply it on next steps) | vice versa to a previous method |
| I have two similar devices (One is fully configured, and one is not configured) | need 2 devices, one is fully configured and another one is not-configured. The configuration from both routers will be downloaded, only after that this config can be updated |
| I have one device and ready to play with manual insert of parameters | download configuration from a device and edit this config manually |
| I have a configuration file for import and want to import this file | in this step you need to import a .csv file with a configuration that can be imported |
| I want to insert config manually | manual way to configure a device |
If you choose I want to insert config manually step, the configuration for the device can be created from scratch in Splynx. You will see a window with the editor of device objects with its attributes. In this configuration menu you can create new object and attribute related to the object, update, delete:

Or apply the mass actions (enable, disable, delete) the existing object and its attribute (-s).

We can apply 4 actions to the object:
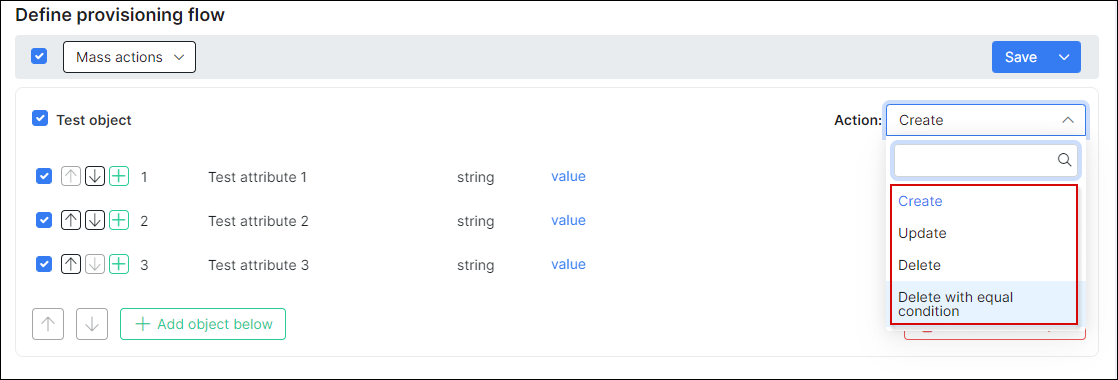
- Create - create an object with the attributes specified in the configuration, but if we already have an object with these attributes, a new object will not be created;
- Update - update the object's attribute value (-s);
- Delete - remove all objects according to the path, for example object
Device.Firewall.X_MIKROTIK_Filter.Chain.3.Rulewill remove all firewall rules from output chain on Mikrotik;

- Delete with equal condition - remove the object if the attribute's
valuewas specified in the configuration, for example remove all the disabled rules in firewall output chain.

Attribute options:
- Ignore statement as an attribute option allows to use
---ignore---value in the field to skip sending the attribute to the device.

Example:
{% if customer.login is not empty %}value{% else %}---ignore---{% endif %}- Template as an attribute option helps to use twig to create provision template with conditional values.

Examples:
{{ customer.login }}.spl.rv.ua{% if true %}---ignore---{% else %}{{ customer.login }}.spl.loc{% endif %}{{ device.device_id[:5] }}{% if customer.custom.wifi_ssid is not empty %}{{ customer.custom.wifi_ssid }}{% else %}--ignore---{%endif %}Click on drop down menu to find out the correct variable of the value you need, e.g. customer ({{ device.customer_id }}), model name ({{ device.model_name }}), IPv4 address ({{ internet_service.ipv4 }}).
Click Save button to save the changes in the current configuration.
By clicking on drop down arrow button near Save, you can preview, export settings to .csv file (exported config file can be used for configuration of other devices).


You can also import settings from .csv file or clean up the existing/loaded device config.
Auto provisioning option is enabled and you import configuration from .csv file, the existing settings on the device will be erased.

When configuration is ready to upload to the device, navigate to Config → Networking → TR-069 (ACS), find your device related group and in its Edit menu enable Auto provisioning option.
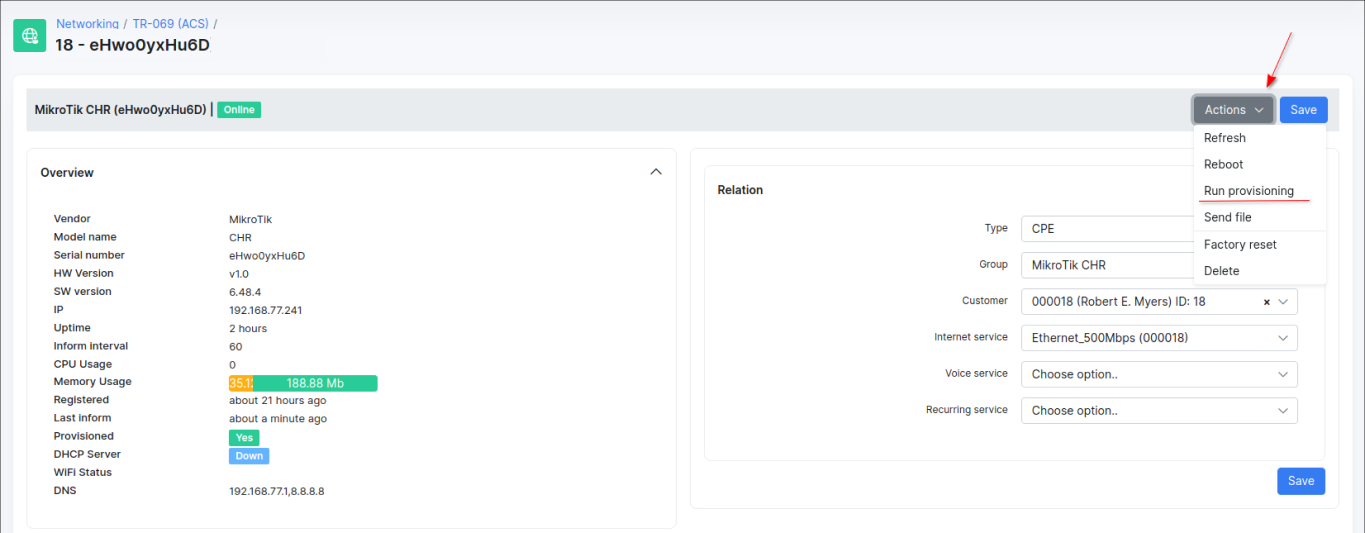
Then, open Networking → TR-069 (ACS) → Devices, click on its serial number or View icon and at the top-right corner of the new page click on drop-down Actions menu and choose Run provisioning action to perform it for your device.
After that, check if the settings on the device have changed.