Realms
The Realms add-on module is designed to simplify the process of grouping customers that use one or different partners according to the logical areas. The Realm - the ending after @(at) sign that is used as customer login in their Internet service, e.g. john@managed.com, where @managed.com is a Realm entity.
Installation
The add-on can be installed in two methods: via the CLI or the Web UI of your Splynx server.
To install the add-on via CLI, the following commands can be used:
apt-get update
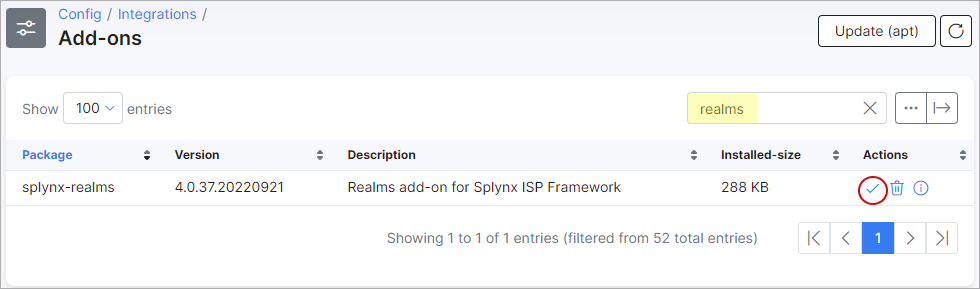
apt-get install splynx-realmsTo install the add-on from the Web UI, navigate to Config → Integrations → Add-ons:

Locate or search for the splynx-realms add-on and click the Install icon in the Actions column:
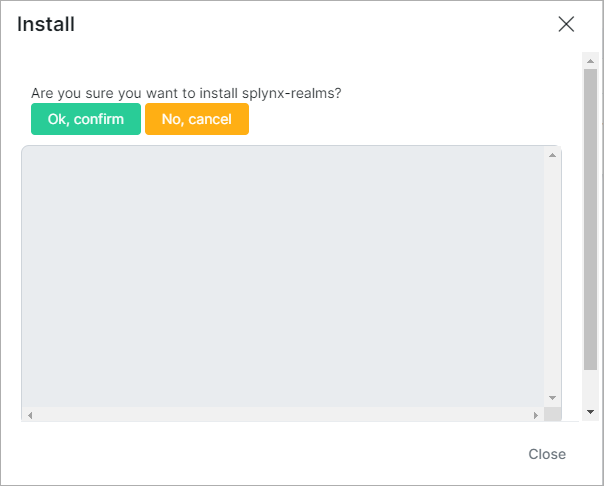
Click the OK, confirm button to begin the installation process:
Configuration
After the installation process has completed, all parameters for the add-on can be found in Config → Integrations → Modules list.

Locate or search for the splynx-realms add-on module and click the

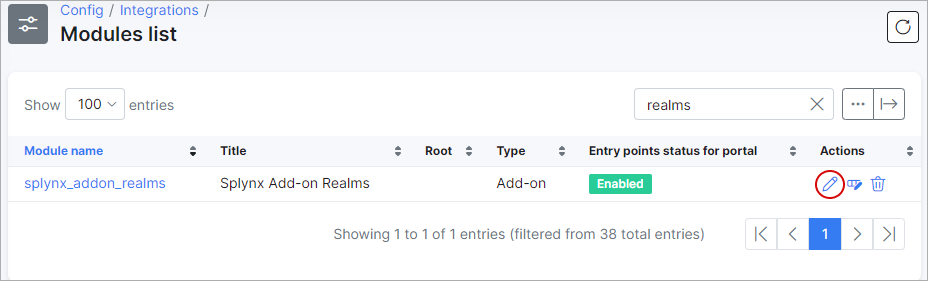
Double check if Entry points status for portal parameter is Enabled.
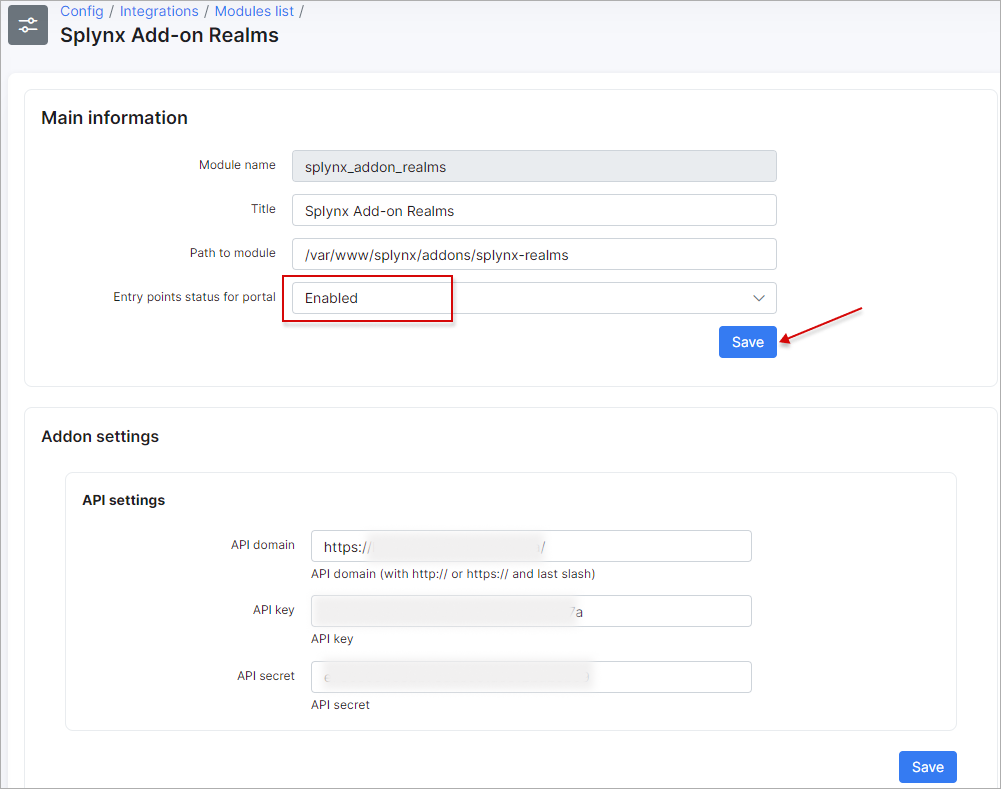
The configuration of add-on Entry points can be found in Config → Integrations → Modules list, near the splynx-realms module item in the Actions column. Click the 
Using the Realms add-on
Add new Realm values to the existing Partner (-s)
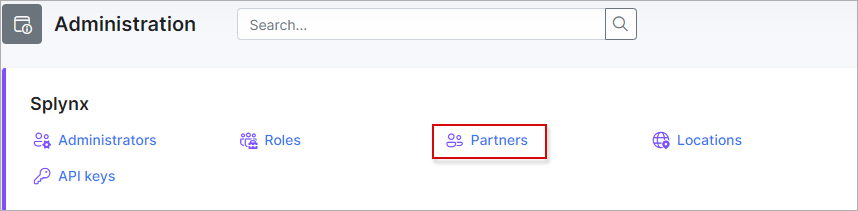
Navigate to Administration → Splynx → Partners:
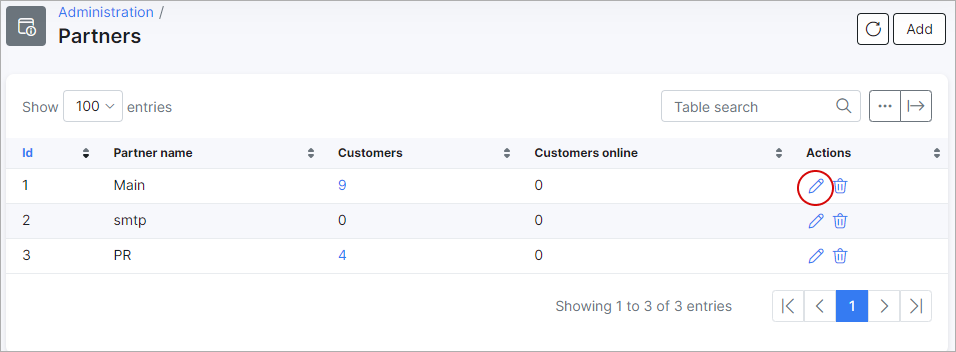
Locate the necessary Partner and click the
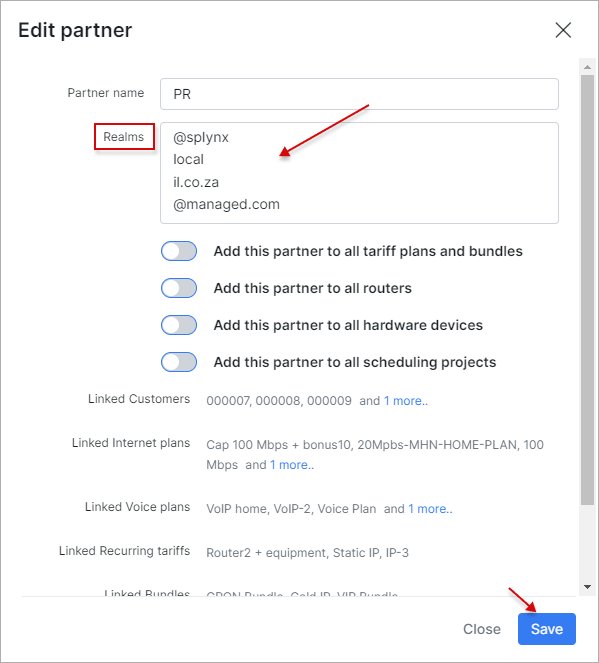
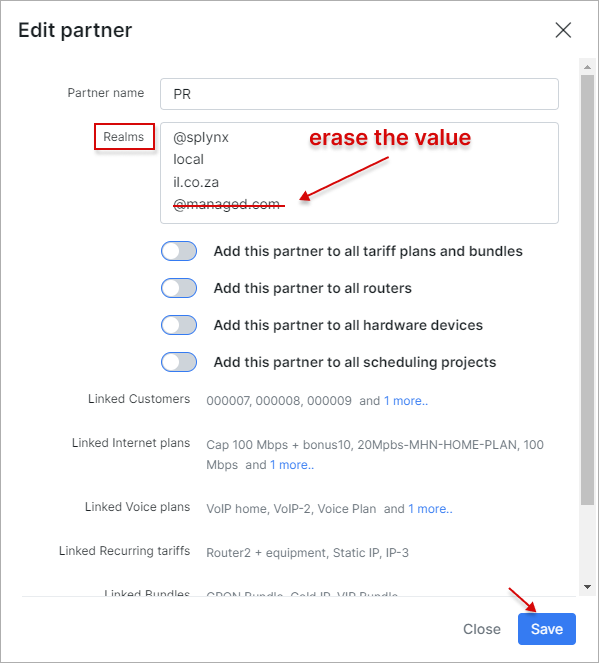
In the new window in the Realms field, specify the required values and save changes.

-
Each value should start on a new line. Additionally, you have the option to include the
@(at) sign at the beginning of the value. However, be aware that this won't result in duplicated characters in theService loginformat; -
One partner can have multiple Realms. The Realms names are not unique, it means that the same Realm can be used by many Partners.
Select the particular Realm in the Internet service
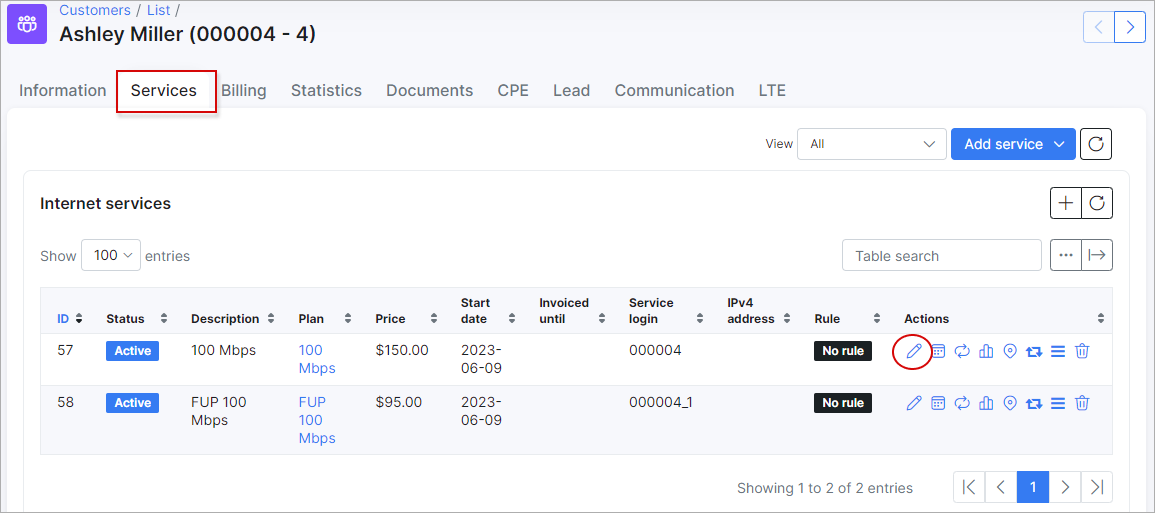
Open Customers → List, locate the necessary customer and open their profile. Navigate to Services tab and click the
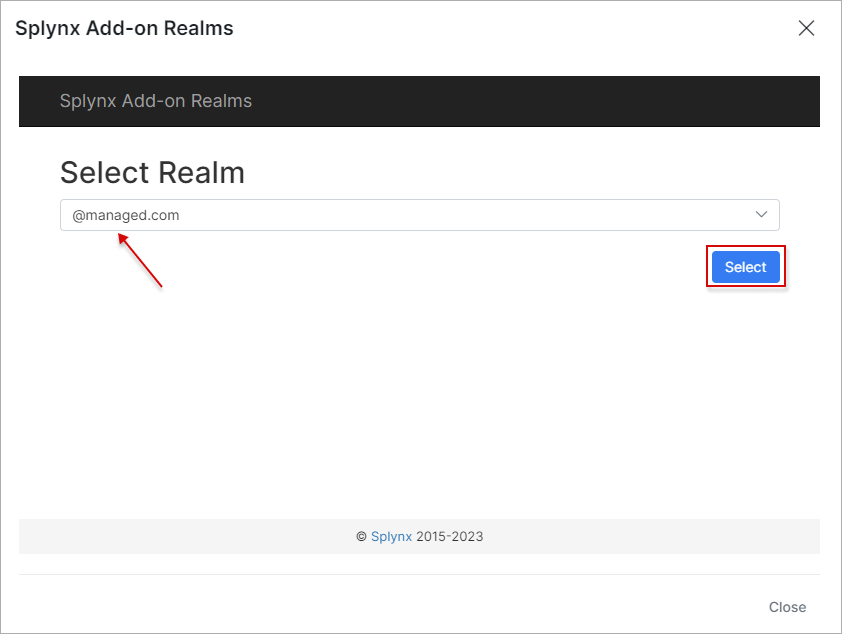
In a new window, find the Realm field and click the View/Set button.

Afterward, select the appropriate Realm value from the drop-down list, click the Select button and save the changes.

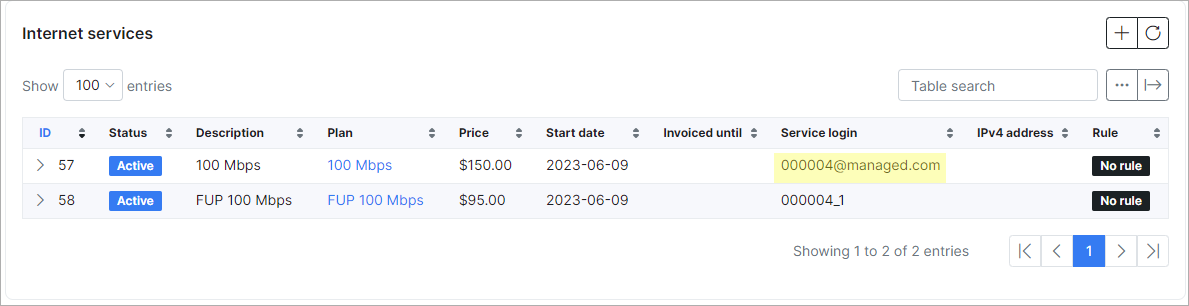
Then, check if the Service login has been changed:
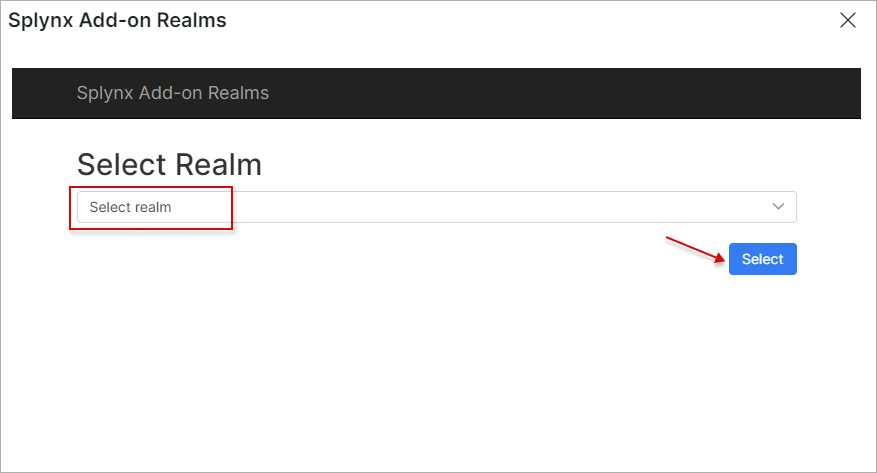
- To remove the Realm value from the Service login field, simply select the empty item from the drop-down list of available values:
Or erase the particular Realm value in the Partner configuration window. Please do not forget to save the changes:
Show all customers according to the specific Realm
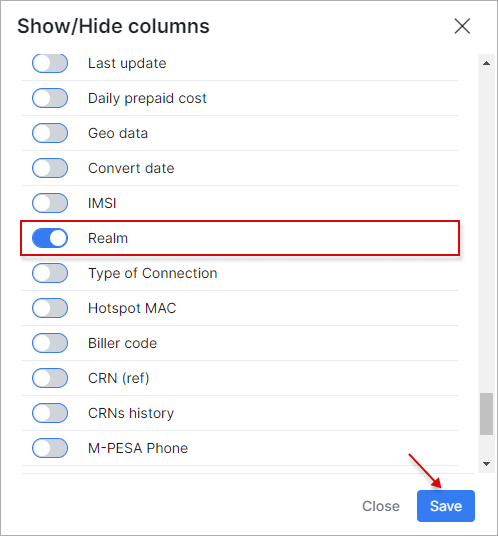
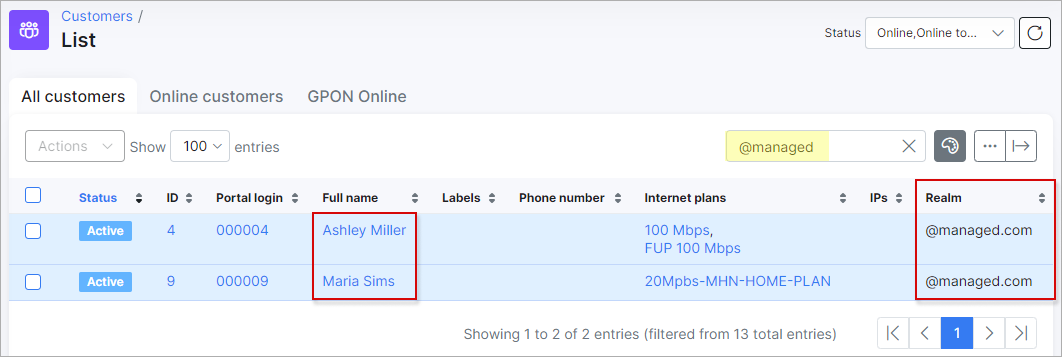
Navigate to Customers → List and in the Search field type in the name of a Realm to show the customers' relation:
In case the Realm field is disabled in the list of customers, click the breadcrumbs